Disclaimer – This post is in partnership with Rubberstamps.com. All opinions are 100% my own.
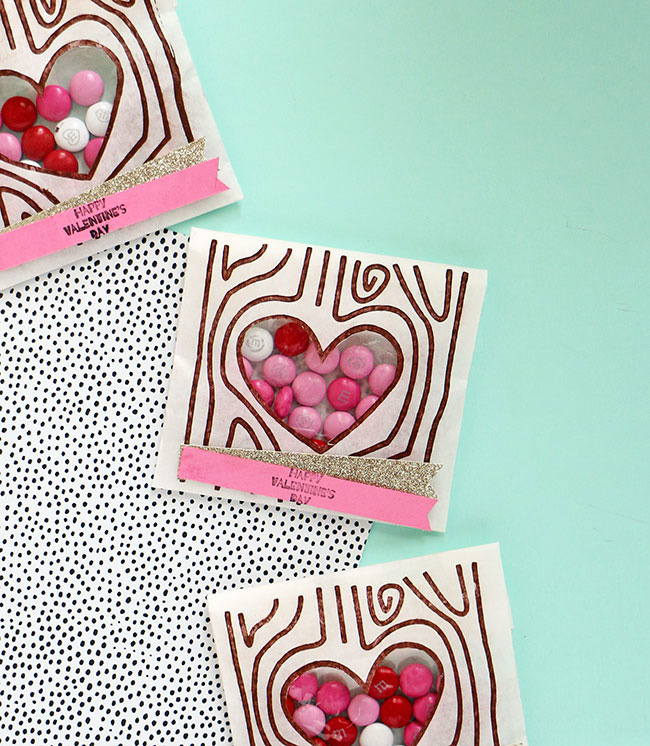
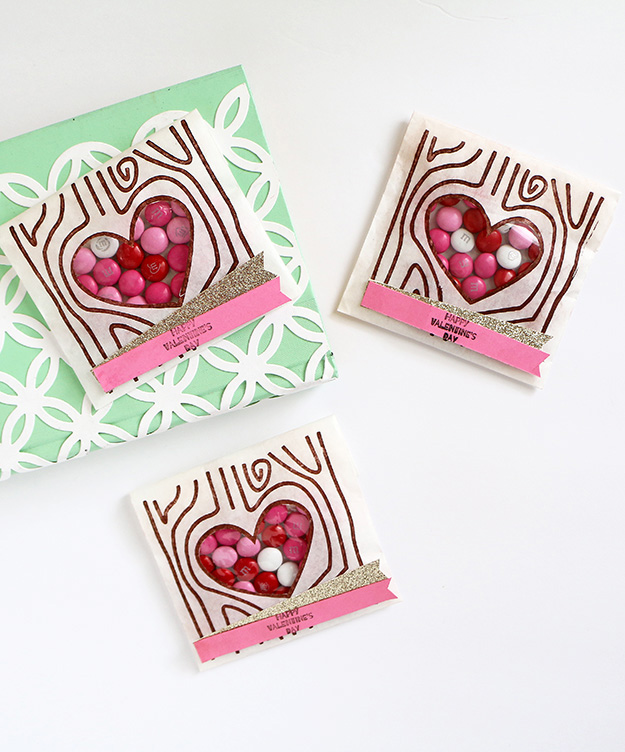
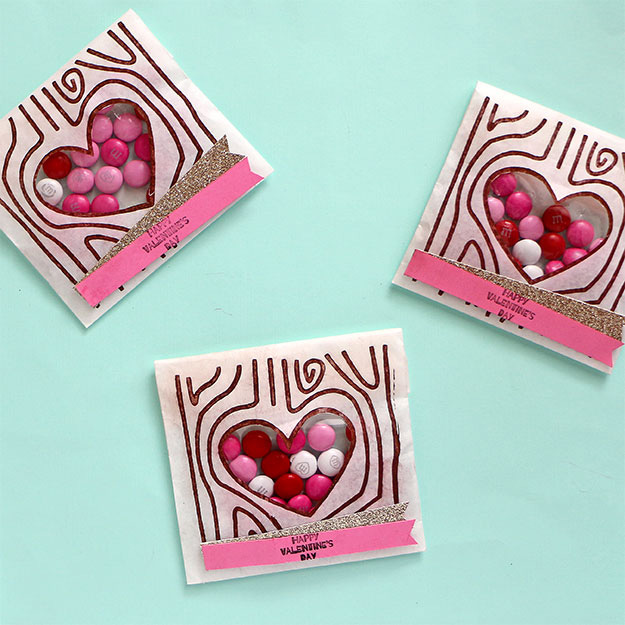
Make the bag as sweet as the treat with these playful DIY stamped Valentine’s Day treat bags!
I’m not sure how it happened, but Valentine’s Day has become one of my favorite holidays! I love creating cute décor from heart tassel garland to festive pillows. With my twins in pre-school I now get to send them with sweets and treats to pass out to their classmates during holidays. I feel like I have been waiting to do this all my life!!!
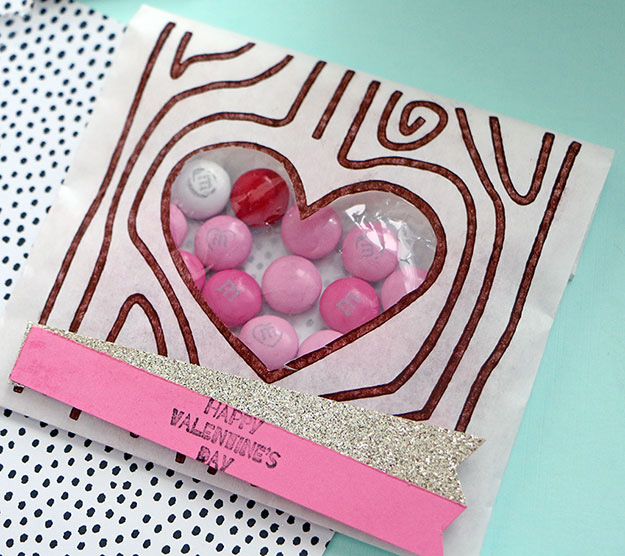
With Christmas being officially over and Valentine’s Day quickly approaching, I wanted to get a head start on the goody bags for my kids’ classmates. I wanted to create something simple, yet cute. When I saw the heart carved tree stamp from Rubberstamps.com. I wanted it to be the focal point of my treat bags since it’s so darn cute! I also used their “Happy Valentine’s Day” stamps to add even more detail! Check out the full video tutorial below to see how simple it is to make your own DIY stamped Valentine’s Day treat bags!

Supplies:
- White Treat Bags (Larger than 4×4)
- Clear Treat Bags (Need to fit inside of white treat bags)
- Rubberstamps.com Heart Carved Tree Stamp (4X4)
- Rubberstamps.com “Happy Valentine’s Day” Stamp (1X1)
- Remarks Black Pigment Ink
- Remarks Brown Pigment Ink
- Acrylic Blocks (4×4 and 2×2)
- Gold Glitter Cardstock
- Pink Cardstock
- Trim and Score Board
- Scissors
- Double Sided Tape
Step 1: Place the heart carved tree stamp on to the 4×4 acrylic block.
Step 2: Cover the stamp with brown pigment ink.
Step 3: Stamp the white treat bag. Let the ink dry.
Step 4: Snip the inside of the heart on the treat bag and cut it out.
Step 5: Cut a ½” strip of gold glitter and pink cardstock.
Step 6: Cut both strips the width of the white treat bag.
Step 7: Add the “Happy Valentine’s Day” stamp to the 2X2 acrylic block, add black ink, and stamp the center of the pink strip of paper.
Step 8: Cut notches out of one end on both strips of paper.
Step 9: Peel off a small piece of double-sided tape and add it to the right side of the pink strip, peel off the liner, and place it on the gold strip so it’s at an angle.
Step 10: Add double-sided tape to the back of the gold strip, peel off the liner, and then add it the bottom of the white treat bag.
Step 11: Add a double-sided tape to the back of the pink strip, peel off the liner, and press it down on the treat bag.
Step 12: Add candy to the inside of a clear treat bag and place it inside of the white treat bag.
Step 13: Fold down the top of the treat bag and secure to the back with a piece of double-sided tape.
What’s great about this DIY stamped Valentine’s Day treat bag is you can add whatever you want to the inside. You could add festive M&M’s like I did, or you could do a candy-free idea and add stickers or other small toys. These treat bags are 100% customizable!