Disclaimer – This post is in partnership with Rubberstamps.com. All opinions are 100% my own.
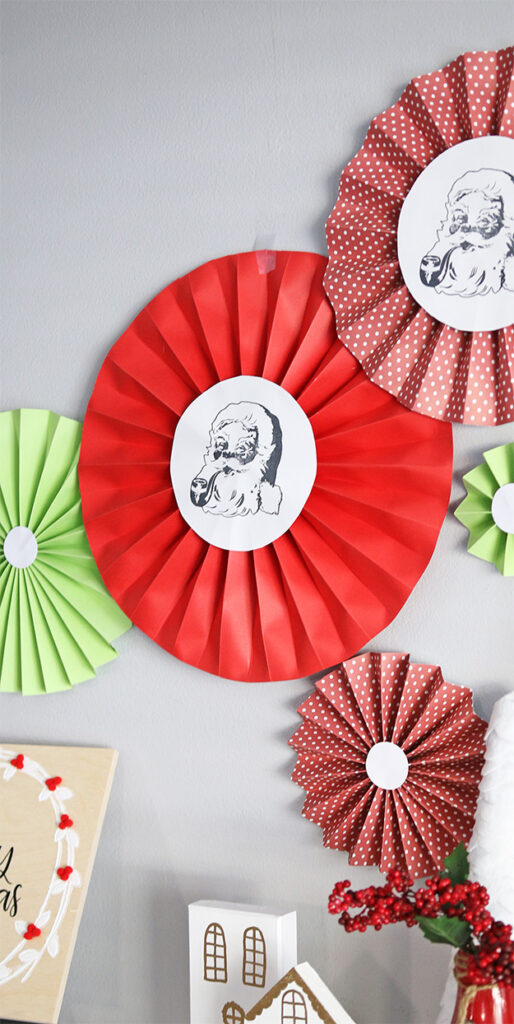
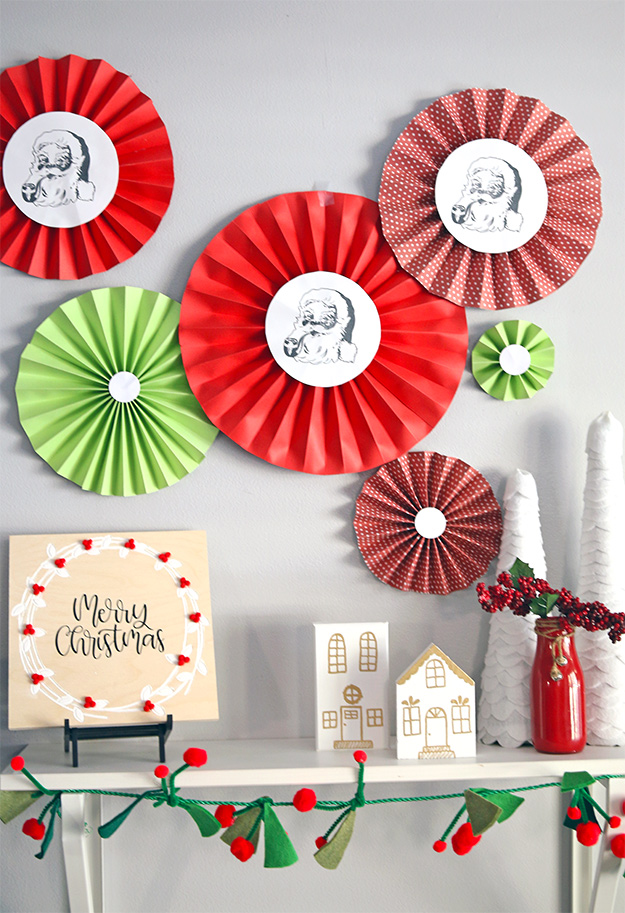
Add some vintage vibes to your holiday décor with these DIY vintage Santa paper pinwheels!
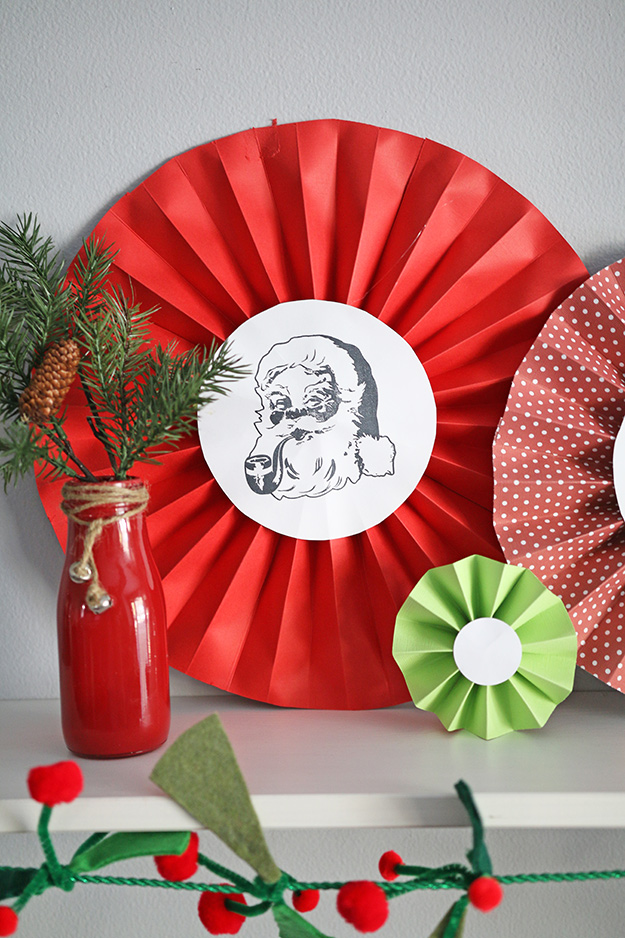
If Christmas is your favorite holiday, you are going to love the décor project. These DIY vintage Santa paper pinwheels are super easy to make and add a fun pop of color and design to any room in your home. I chose a Santa stamp from Rubberstamps.com to add to the center of my festive pinwheel. I love the design of the Santa stamp since it definitely has a vintage feel, which paired perfectly with my solid and polka dot cardstock!
Check out the full video tutorial below to see how you can make DIY vintage Santa paper pinwheels!
Supplies:
- 4 sheets of 12×12 Patterned Cardstock (in preferred holiday colors)
- White Cardstock
- Rubberstamps.com Clear 4×4 Santa Stamp
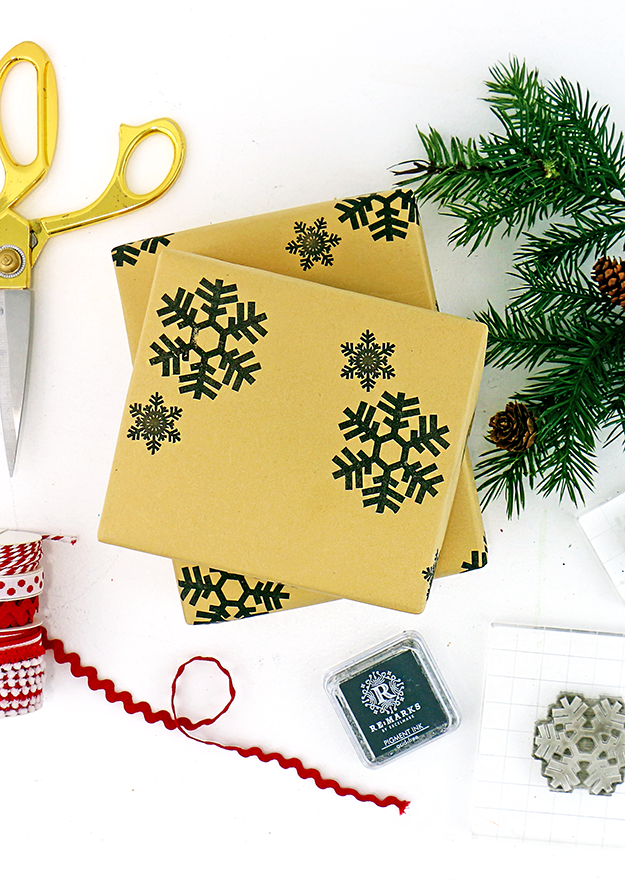
- Remarks Black Pigment Ink
- 4×4 Acrylic Block
- Small Bowl (to use to create a circle)
- Paper Trimmer with Score Board
- Hot Glue Gun and Glue
- Scissors
Step 1: Trim 4 sheets of patterned paper down to 4”.
Step 2: Add 1-inch score lines across the entire strip of paper. Repeat on the remaining 3 sheets.
Step 3: Accordion fold the entire strip paper. Repeat on the remaining 3 sheets.
Step 4: Add hot glue to the end of one strip of paper and glue another strip to it. Repeat with the other 2 strips.
Step 5: Flip the ends up to form a circle. Then, glue the two ends together.
Step 6: Place a small bowl on a piece of white paper and trace around it.
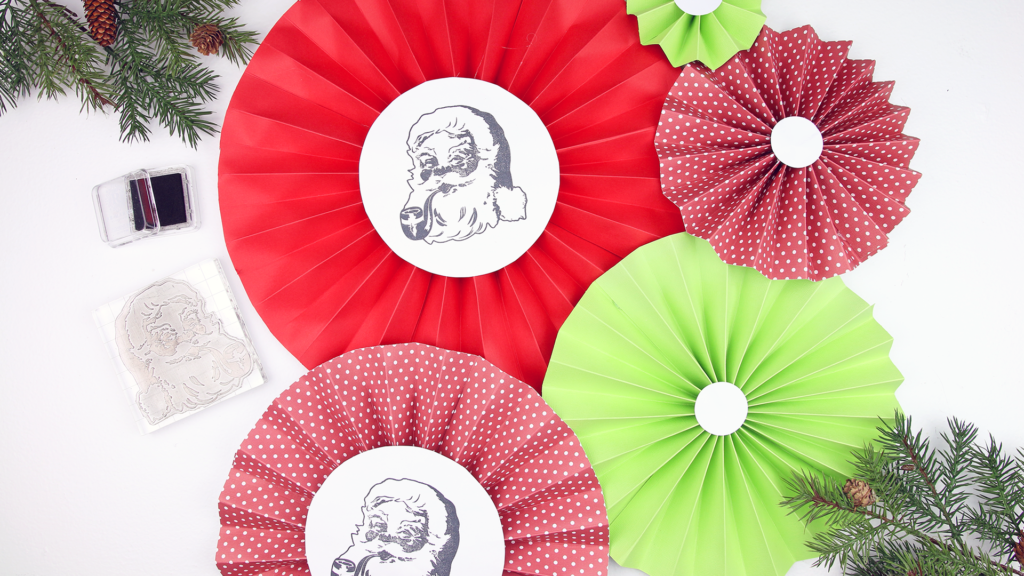
Step 7: Add the Santa stamp to the acrylic block and go over it with black ink.
Step 8: Stamp in the center of the circle and cut it out.
Step 9: Press down on the center of the ring of paper to form a pinwheel. Place a heavy object in the center to hold it down (I used my bowl).
Step 10: Add hot glue to the back of the stamped circle, place it in the center of the pinwheel, and press down.
Step 11: Cut out another circle, add hot glue on the back, place it on the back center of the pinwheel, and press down.
Now, all you need to do is add some tape or 3M strips to the back of these DIY vintage Santa paper pinwheels and hang them up on the wall! You can also customize them to match your own holiday style whether it’s classic red and green or more trendy colors like pink and blue. This technique can also be carried over to other holidays and celebrations, so be sure to sure to check out all of the stamp options fromRubberstamps.com!