
Disclaimer – This post is in partnership with CraftCuts. All opinions are 100% my own.
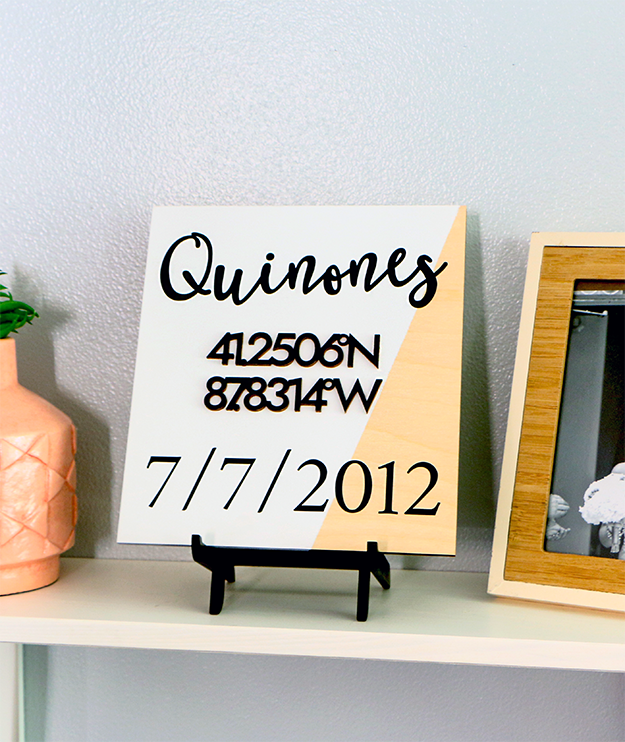
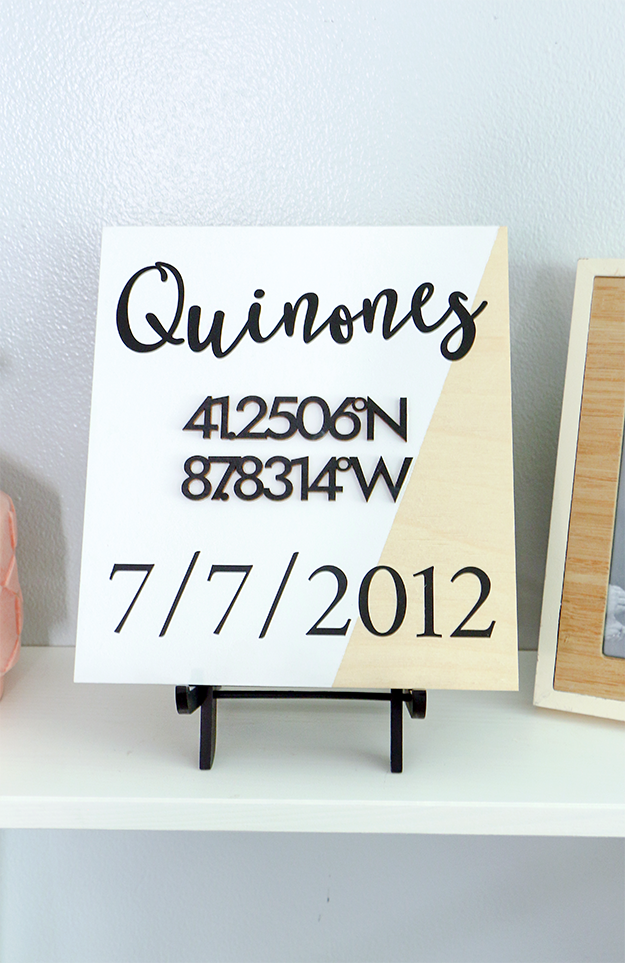
Capture your wedding day with this custom and unique DIY Wedding Coordinates sign!
There are numerous ways to document and remember your wedding day. You could go with the traditional guestbook, engraved champagne glasses, or even a keepsake candle. But, if you’re looking for a unique alternative to the norm, this DIY custom wedding coordinates sign is or you!
I was able to create this one-of-a-kind sign using supplies I got from CraftCuts! With so many options, I was able to customize my wedding coordinate sign using their custom wood shape, custom connected wood letters, and vinyl decals. Check out the full video tutorial below to see how all of the custom elements came together to create my DIY custom wedding coordinate sign!
Supplies:
– Rectangle Craft Shape (Baltic Birch Plywood, 9”X10”, ¼” thick)
– Connected Wooden Letters (Central Gothic Med, Unpainted, 1” height, 1/8” thickness)
– Custom Vinyl Lettering (Last Name: BetterFly Smooth, 2.5” height, Black, Matte, Wedding Date: Crimson, 1.5” height, Black, Matte)
– White Spray Paint
– Black Acrylic Paint
– Foam Paint Brush
– Painter’s Tape
– Beacon Multi-Grip Glue
– Squeegee or Credit Card
Sep 1: Add painter’s tape from the corner of your sign to the bottom. Then, fill in the entire section with tape, making sure everything is pressed down and covered.
Step 2: Add a coat of white spray paint to the sign. Let the first coat dry and then add another.
Step 3: While the sign dries, use a foam paintbrush to add a coat of black to the coordinates. Use painter’s tape to keep the coordinates from sliding around while you paint them.
Step 4: Remove the painter’s tape from sign.
Step 5: Arrange the vinyl and wood cutouts on the sign.
Step 6: After you figure out the placement, remove the backing from both vinyl pieces and lay them facedown on the sign.
Step 7: Use a credit card or a squeegee to apply pressure all over both vinyl liners. This will ensure the vinyl is completely adhered to the wood sign.
Step 8: Slowly peel back the vinyl liners. If you see some of the vinyl coming up with it, just lay the liner back down and rub it again with the squeegee.
Step 9: Add glue to the back of both wooden coordinates and glue them to your wooden sign.
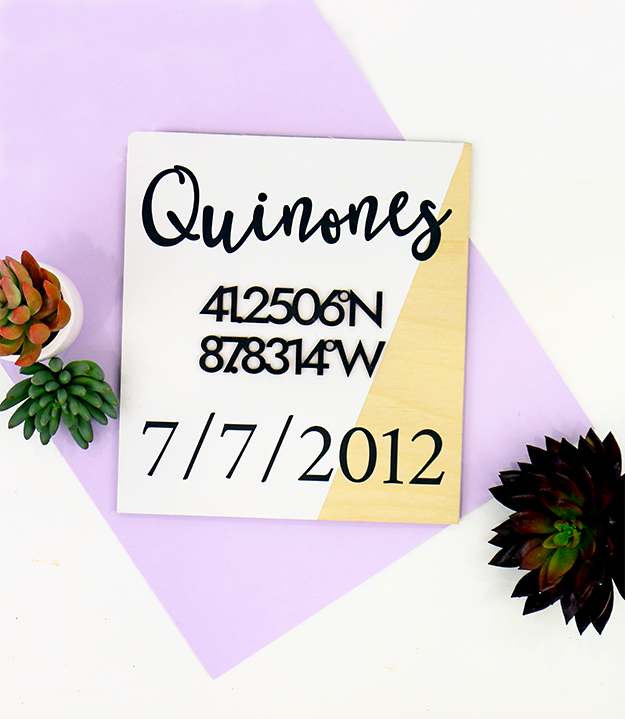
Not only would this DIY wedding coordinates sign be the perfect was to commemorate your own wedding, but it would also make a great shower or wedding gift for the bride and groom!