Disclaimer – This post is in partnership with Xyron. All opinions are 100% my own.
When it comes to candy, I have a bit of a problem. I’m obsessed with all things sweet and sugary! I’ve never met a piece of candy I don’t like. Since I’m obsessed with all candy, you better believe I was super pumped to find out there’s a day dedicated to celebrating candy in all of it’s forms. National Candy Day falls 4 days after Halloween, which means the candy celebrations continues on! Yippee!
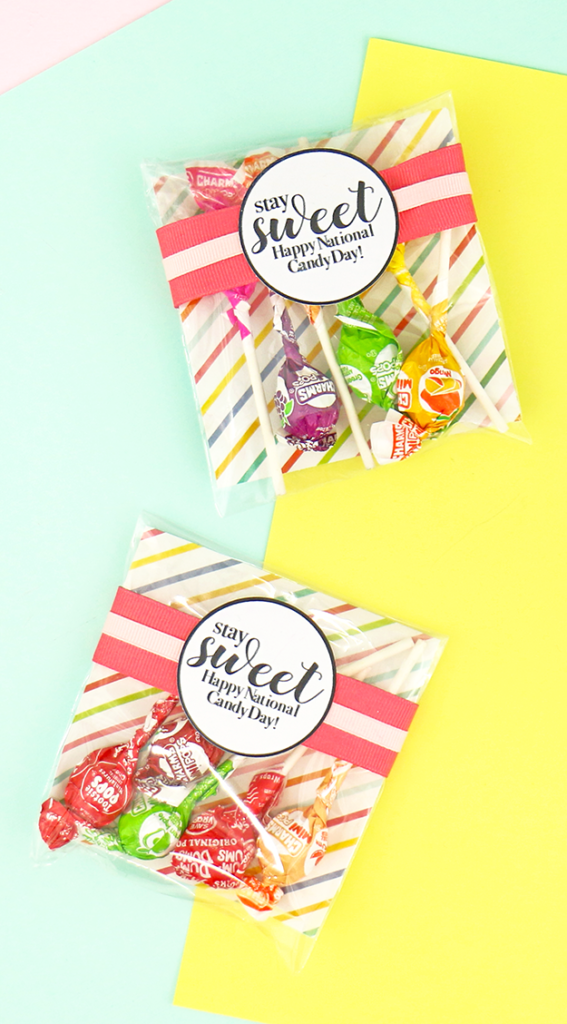
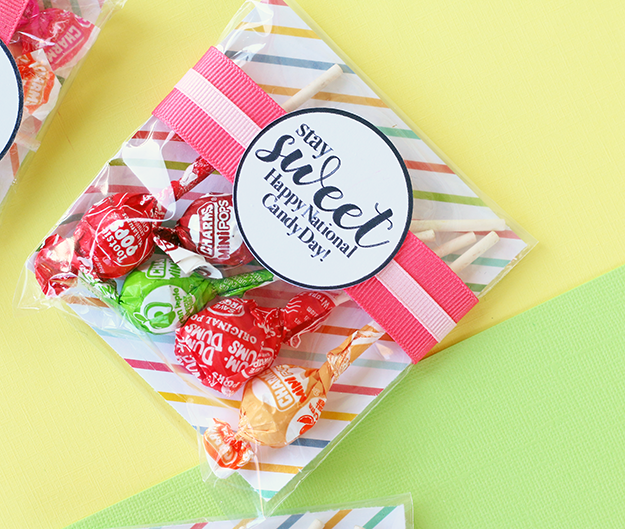
This year I decided to get festive for National Candy Day. Since, in my opinion, this is the best holiday before Thanksgiving, I figured why not celebrate it with a fun DIY stay sweet treat bag. These treat bags are ridiculously easy to make. The real hero in this DIY is my Xyron Creative Station Lite. This machine quickly and easily added adhesive to my ribbons and turned my DIY tag into a sticker! This machine really is amazing!
Check out the full video tutorial below to see how to create your own DIY Stay Sweet Treat Bags for National Candy Day using the Xyron Creative Station Lite!
Supplies:
- Xyron Creative Station Lite
- Dark Pink Ribbon (1”)
- Light Pink Ribbon (1/4”)
- White Cardstock
- Cricut Maker
- Printer with Black Ink
- Clear Treat Bags (3”x4”)
- 12×12 Rainbow Striped Scrapbook Paper
- Paper Trimmer
- Candy
Instructions:
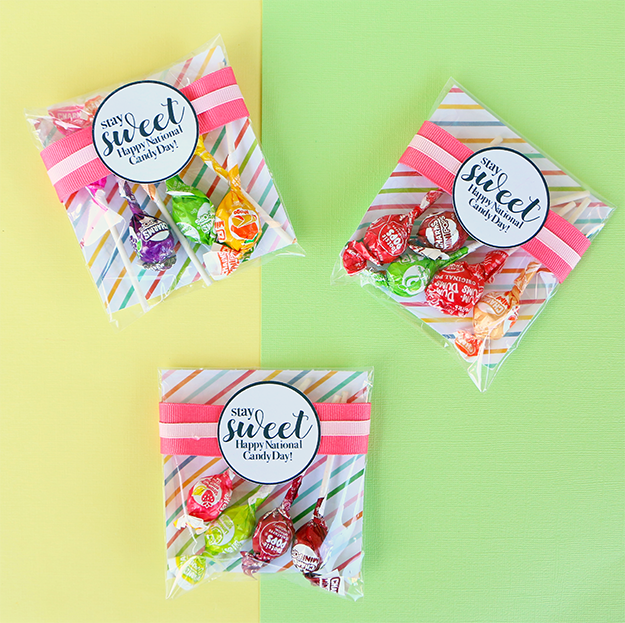
- Cut patterned carstock down so it’s 3.75”x3.75”.
- Add the paper to the inside of the treat bag.
- Cut the 1” ribbon so it will fit around the treat bag.
- Cut the ¼” ribbon the same size.
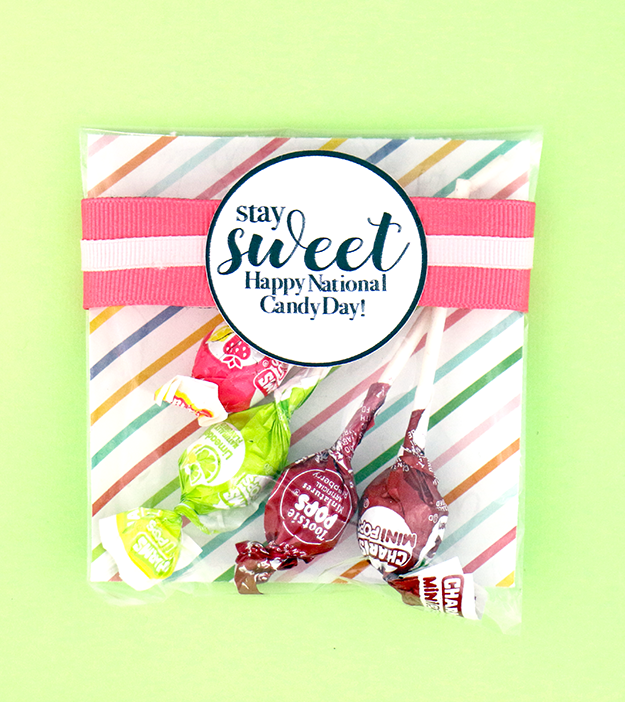
- Use a Cricut machine to design, print, and cut “Stay Sweet! Happy National Candy Day”. If you don’t have a Cricut machine, you could create your own tags, print them out, and either use a circle punch or scissors to cut out the saying.
- Place the ribbons and saying inside of the Creative Lite Station. Then use the handle to pull everything through the machine.
- Once everything is pulled through, use the sliding blade to trim the liner.
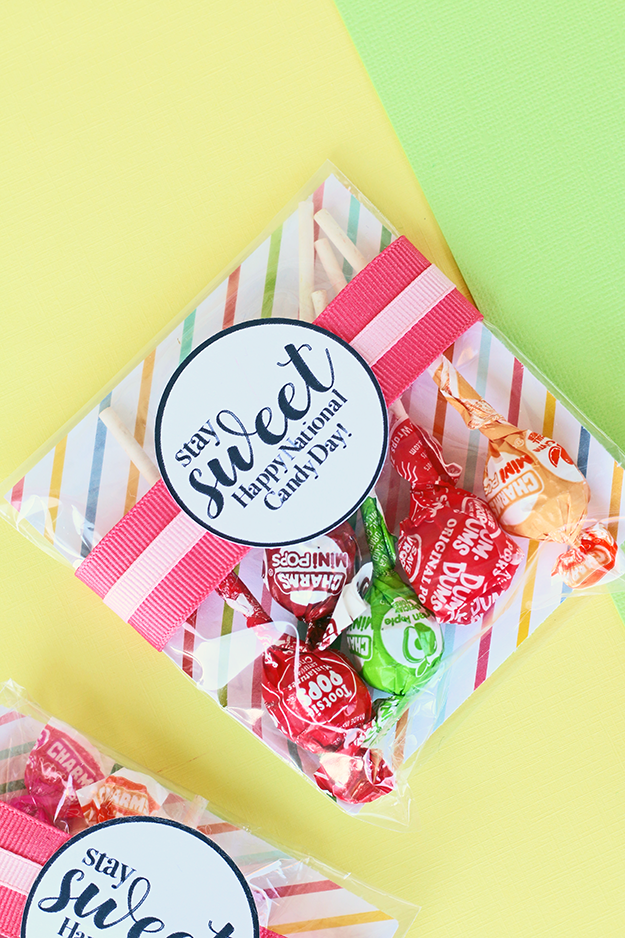
- Add candy to the treat bag.
- Fold the top of the bag down. Then, peel of the 1” ribbon and place it over the folded bag.
- Then, place the ¼” ribbon on top of the 1”ribbon.
- Finally, peel off the saying and place it on top of the ribbons.
That’s it! See, I told you it was super easy to make your own DIY Stay Sweet Treat Bags! You could use the Creative Lite Station to create goodies for all of the upcoming holidays!