
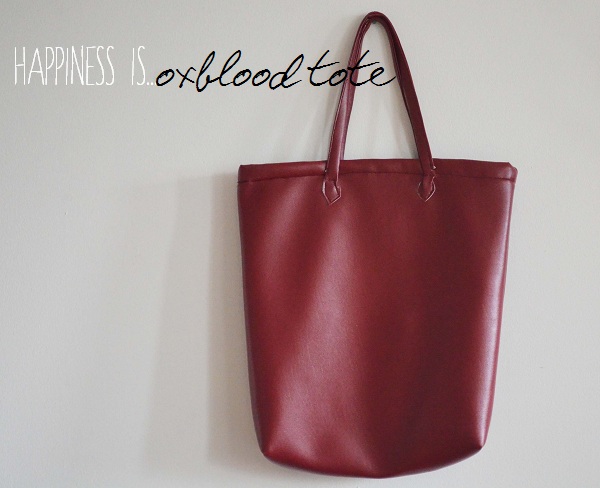
I love my Joann’s. It seriously has the best selection of fabrics. There is an entire section of vinyl fabrics in different colors and textures. I came across this “oxblood” fabric and thought it was spot on. Not bad, considering my inspiration bags were leather.
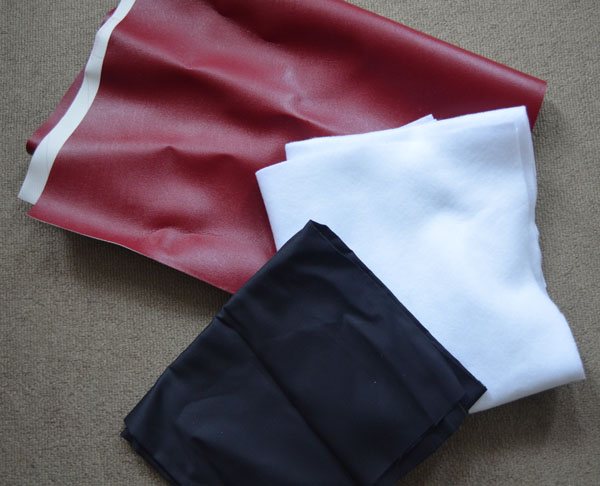
Supplies:
– 1/2 yard “Oxblood” colored vinyl fabric
– 1/2 yard black cotton fabric (to use as your bags liner)
– 1/2 yard fusible fleece
– Thread to match your vinyl (make sure this is heavy-duty thread)
– Scissors
– Sewing machine
– Heavy duty sewing needle
– Straight pins
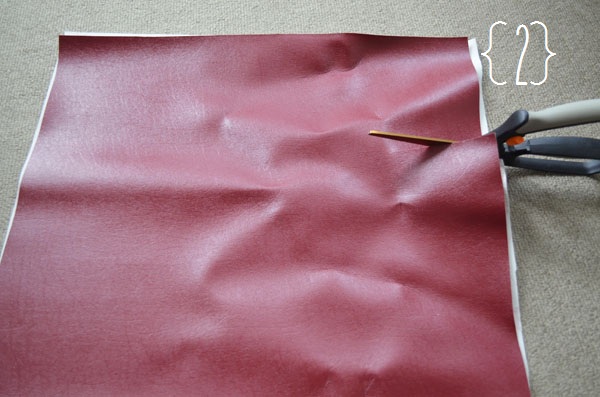
Step 1: Take your vinyl fabric and fold it in half. Clearly I decided to crumple my fabric when it was in my bag.

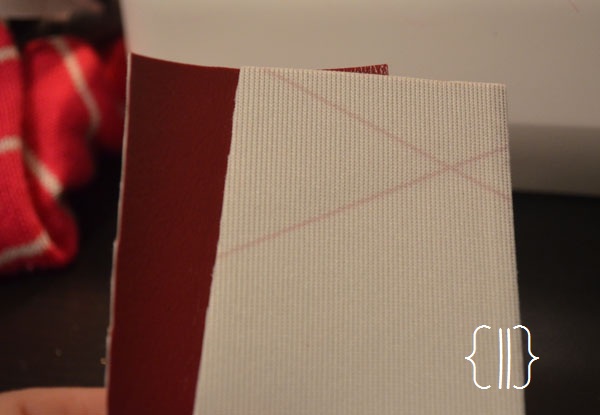
Step 2: Cut 3 1/2 inches from the top of your fabric (make sure you do not cut on the fold).
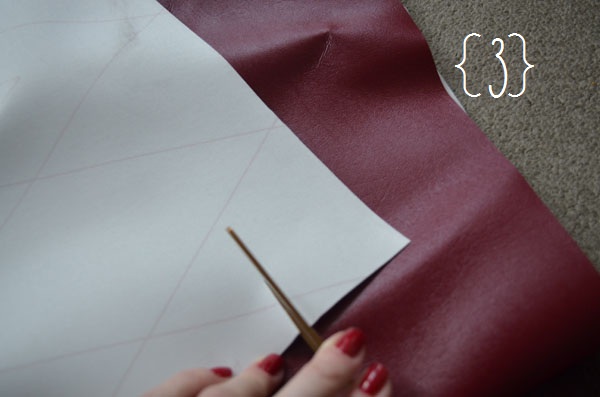
Step 3: You should now have 2 wide pieces of fabric. These will be used to make the handles of your bag. Take your two pieces of fabric and lay them out so they are horizontal. Fold them in half lengthwise and cut. You should have 4 strips of fabric that are about 2 1/2 inches wide.
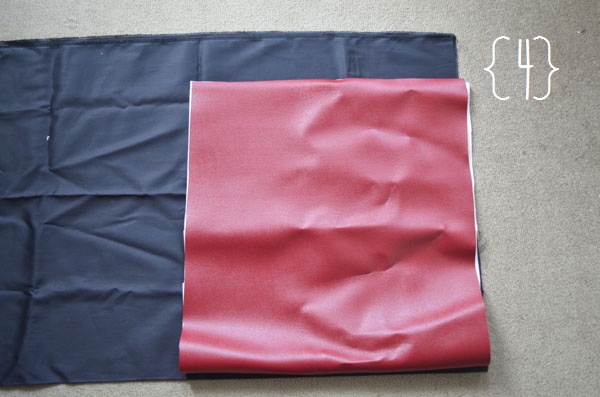
Step 4: Fold your black liner in half and lay on the floor. Put the body of your bag on top of your liner. Make sure you put the fold of the vinyl on the fold of the liner. Use this as your pattern. Cut around the body of your purse. This will make your liner the same size as the body of your bag.
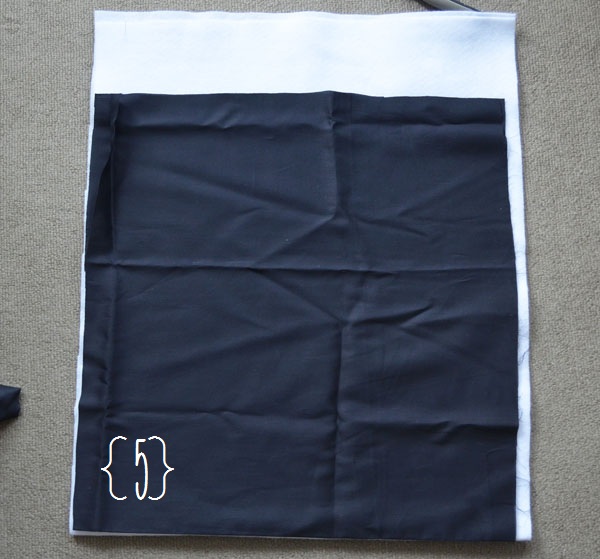
Step 5: Take your fusible fleece and fold it in half. Put your liner on top of your fusible fleece. Make sure you put the fold of your liner on the fold of your fusible fleece. You will use the liner as your pattern. Cut out the same size fusible fleece as your liner.
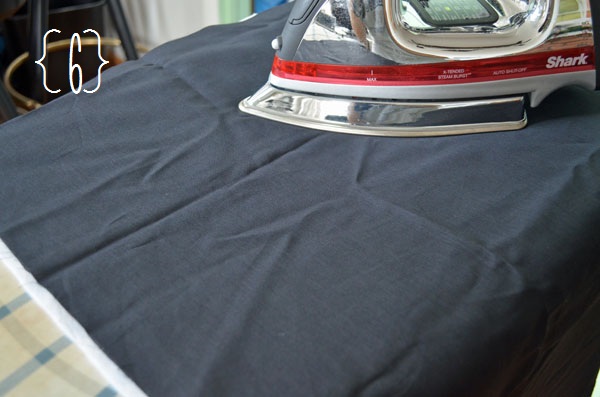
Step 6: Unfold your fusible fleece and liner – it will now be a long rectangle. Place your liner on the sticky side of your fusible fleece. Follow the instructions that came with your fusible fleece for your iron setting. Iron over your entire liner. This will glue your liner to the fusible fleece.
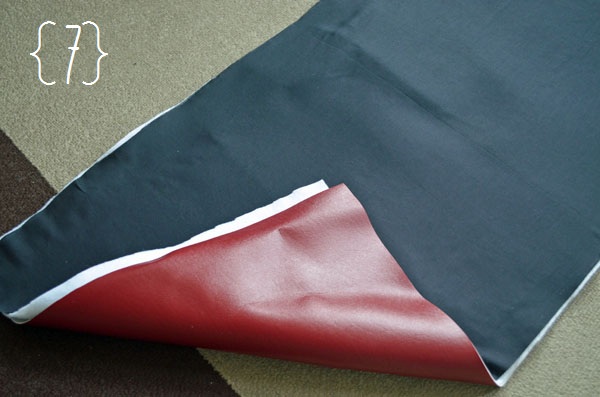
Step 7: Take your vinyl fabric and unfold it. This will give you the same shape as your liner and fusible fleece. Take your vinyl and turn it over so the good side of your fabric is facing the floor (the yucky side of the vinyl will be facing up). Take your, now glued, fleece and liner and put the fleece side on top of the yucky side of your vinyl. Pin everything together.
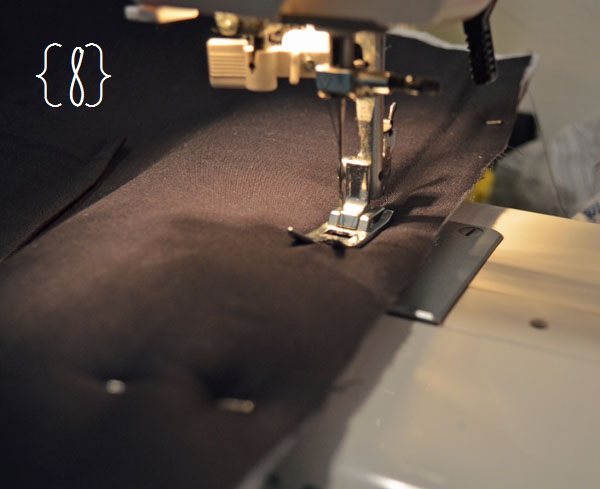
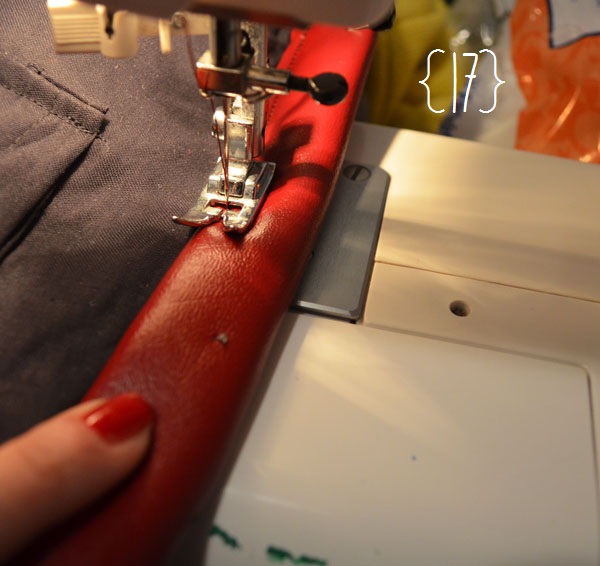
Step 8: Now that everything is pinned together, fold your fabric in half so the red side of your fabric is facing itself (your purse will be inside out). Start sewing from the top right side of your bag. You will work your way around until you get to the top left part of your bag. Once you get here, stop.
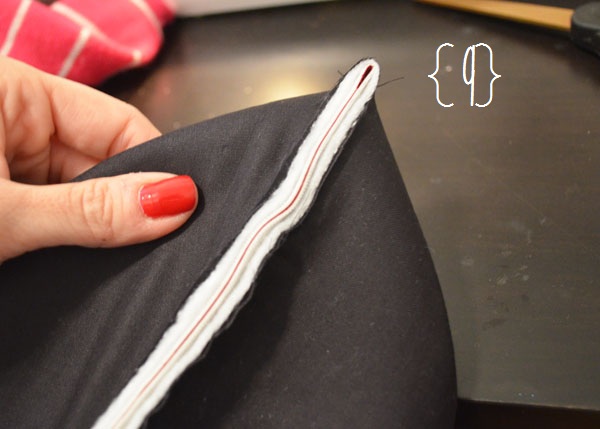
Step 9: Take the bottom right side of your bag and push it down so you get a triangle.
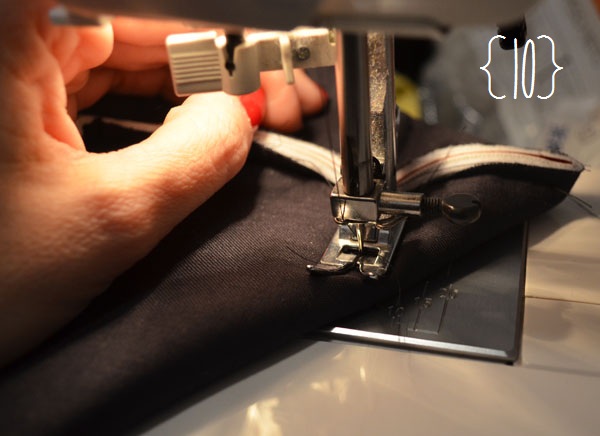
Step 10: Sew over your triangle. Do this to the other side. This will give your bag more of a “bucket” look. Turn your purse so it is right side out.
Step 11: You will now take two of your strips of fabric for your handles and pin them together just at one end. Make sure the red colors are facing each other. Do this to the other 2 strips of vinyl. This will make your straps longer.
Step 12: Sew both of your strips of fabric so you now have 2 long strips of fabric.
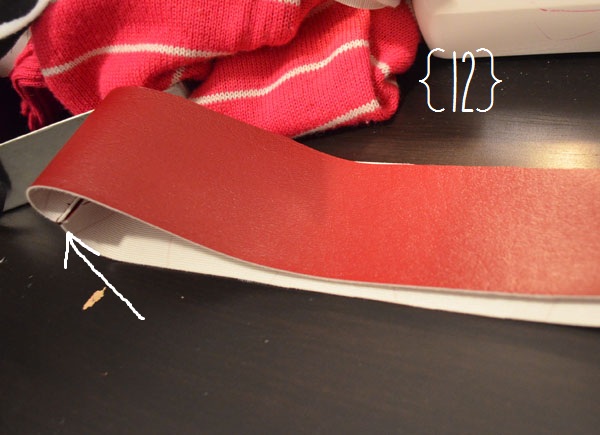
Step 13: Fold the ends in and then fold the strip in half. This will leave nice clean edges when you sew. Do this to both of your handles.
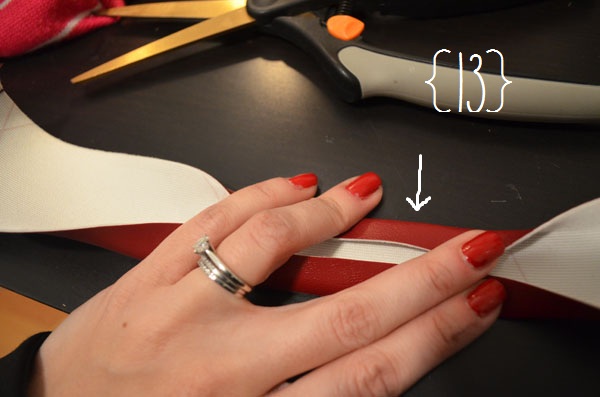
Step 14: Pin your handles.
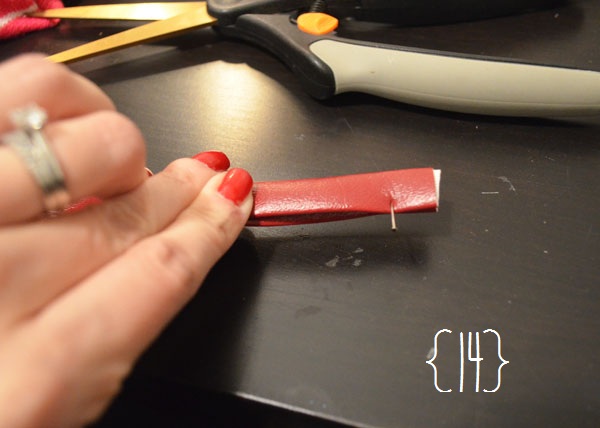
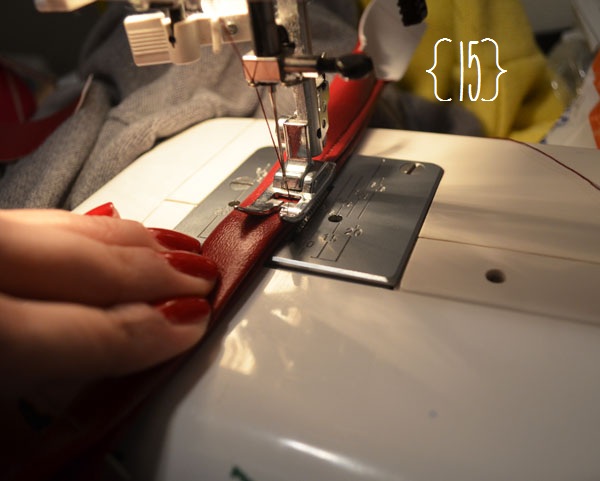
Step 15: Start sewing 1 1/2 inches from the end of your handle (see below pic – you can see the fabric that is not sewn). Keep sewing until you get 1 1/2 inches from the end. Once you get here, stop. Do this to both of your handles.
Step 16: Just kidding. Skip to step 17. :)
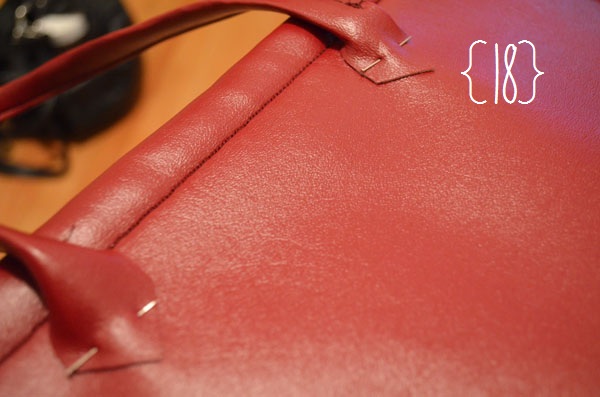
Step 17: Time to sew the top of you bag. You want to turn in the rough, unfinished edges of your bag and pin. Make sure you have a nice finished edge as this will be the top of your bag.
Step 18: Now that the top of your bag is finished, time to sew on your straps. I cut the ends of my straps (the areas that were not sewn) into points. I liked the look of it, but you can keep them as rectangles if you want. Pin the bottom of your straps to the body of your bag (I went about 1 1/4 inches down). Sew around the edges of the straps to secure them to the bag.


February 11, 2013 12:28 pm
Wow, that turned out very nicely! I doubt I could sew something that looked completed like that.
February 11, 2013 8:47 pm
Thanks! :)
February 11, 2013 5:32 pm
This bag turned out so pretty! I love the color.
Kristina
Kristina does the Internets
February 11, 2013 8:48 pm
Thanks, Kristina! Check back often – more CIYs to come!
February 11, 2013 10:39 pm
Wow you are so talented- this bag looks amazing!
http://www.brightandsassy.com/
February 12, 2013 2:41 pm
Thanks! Give it a try. ;)
February 11, 2013 10:44 pm
Wow this bag turned out great! What an awesome DIY you did an awesome job.
-V
http://stylishlyme.com/
February 12, 2013 2:40 pm
Thanks! More CIYs to come. :)
February 13, 2013 8:24 pm
I love this bag, I haven’t been in Joanne’s in ages. I guess I better go soon. Planning my daughters wedding next year, could use some ideas for that?
Pingback: CIY: My Oxblood Tote Gets a Spring Makeover - Happiness is...Creating
Pingback: maillot de foot 2013