It’s that time of year again. Time to bust out your eggs and start decorating them for Easter! Over the past decade or so people have really amped up their egg decorating. It’s gone from the tradition dip, dye and repeat to turning eggs into mini works of abstract art with paint and even grabbing tiny stamps made for planners to give eggs a quick, but impactful makeover. All of these awesome ideas made me want to try something new this year.
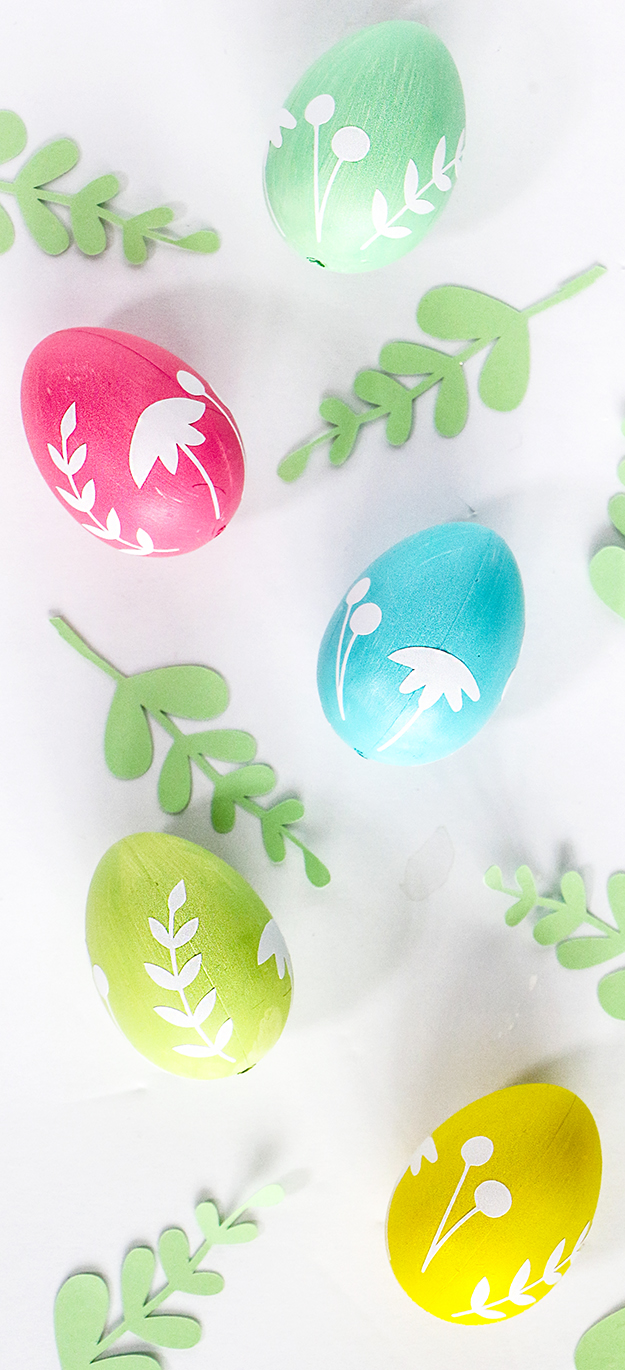
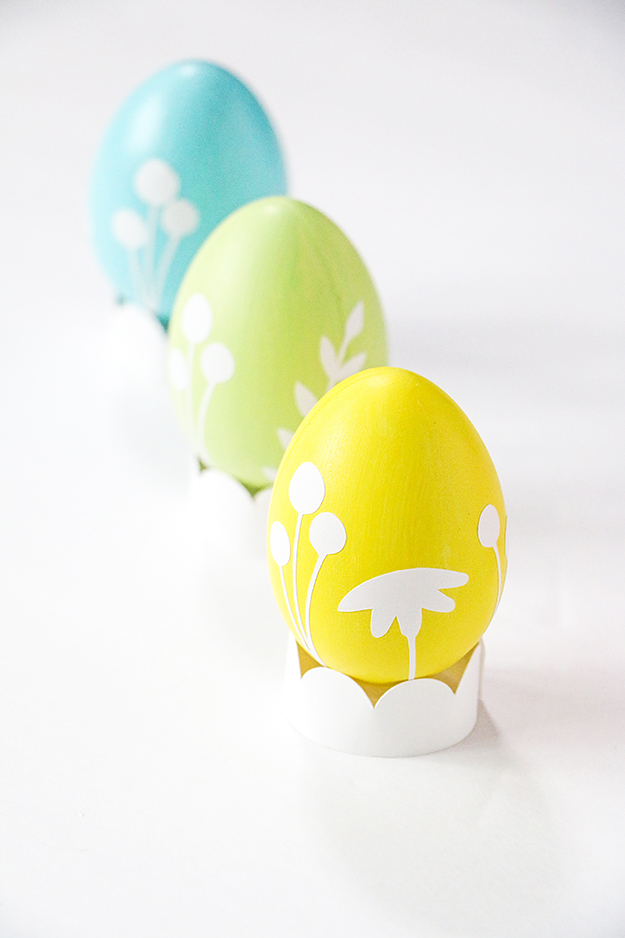
For my egg decorating, I decided to think a little outside of the box. I grabbed some faux eggs since I’m not historically the best when it comes to real eggs! The look I went for is super easy to achieve. All I did was paint my eggs and slap on some vinyl stickers I cut from my Cricut Explore Air 2. It looks like I spend hours painting delicate floral design on my eggs! Check out the full tutorial below to see just how simple this egg decorating technique is – you can even get your kiddos to help!
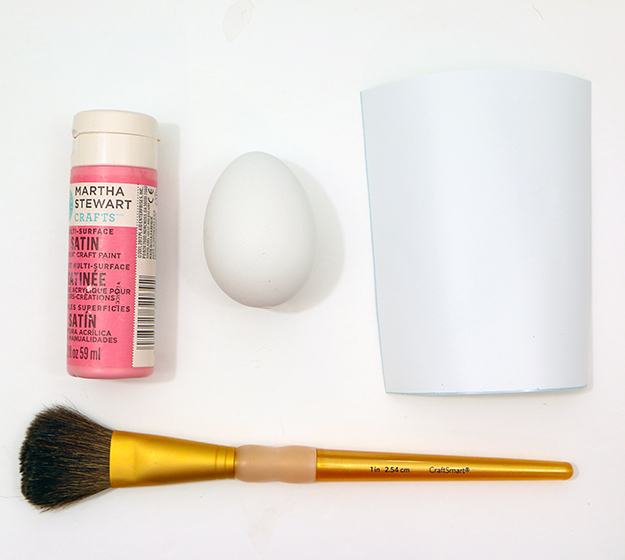
Here’s what you’ll need:
- Fake or Real Eggs
- Craft Paint
- White Adhesive Vinyl
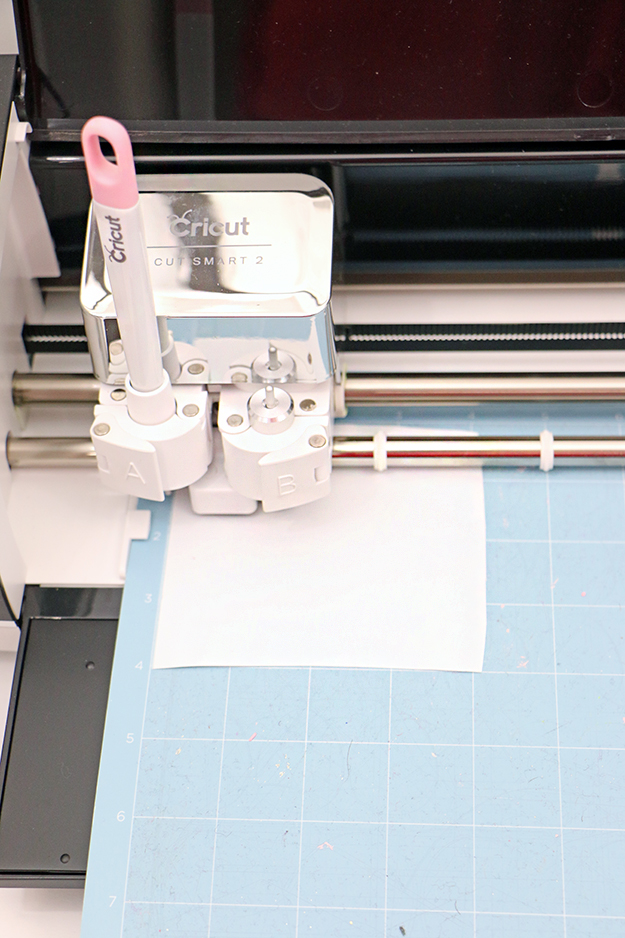
- Cricut Explore Air 2
- Cricut Design Space File (Flower Card #M41307)
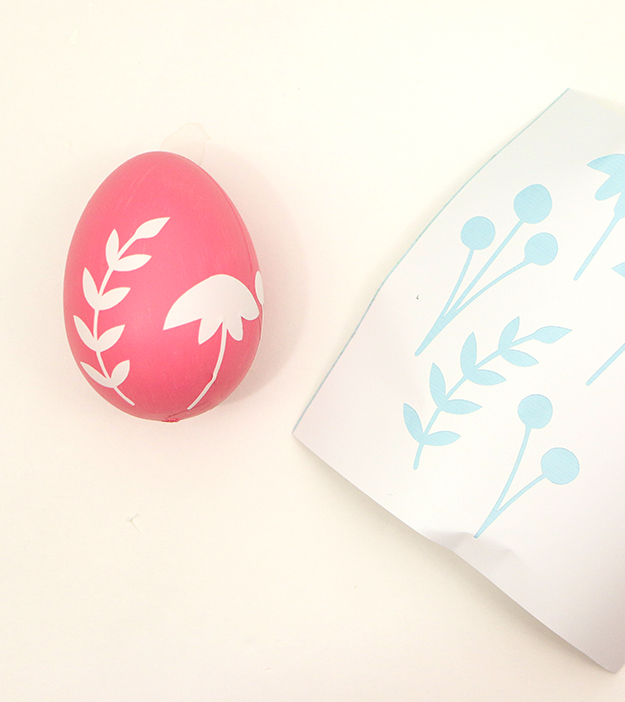
After I resized my floral images (I used a free floral template from the Cricut Design Space), I ran my vinyl through my Cricut machine to cut out the designs.
Add a coat or two paint to your egg. Once it’s dry, peel out the floral vinyl pieces and add them to your egg.

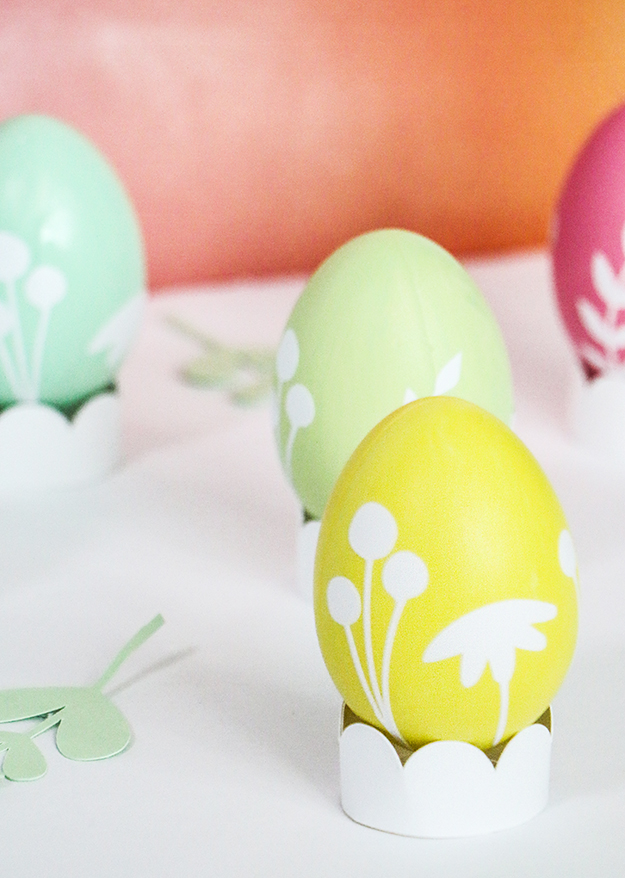
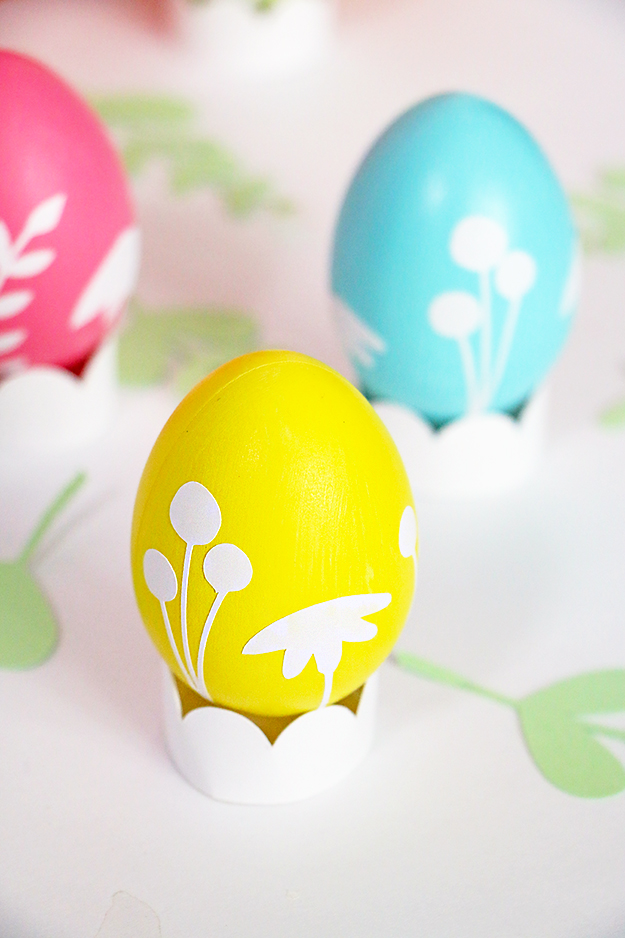
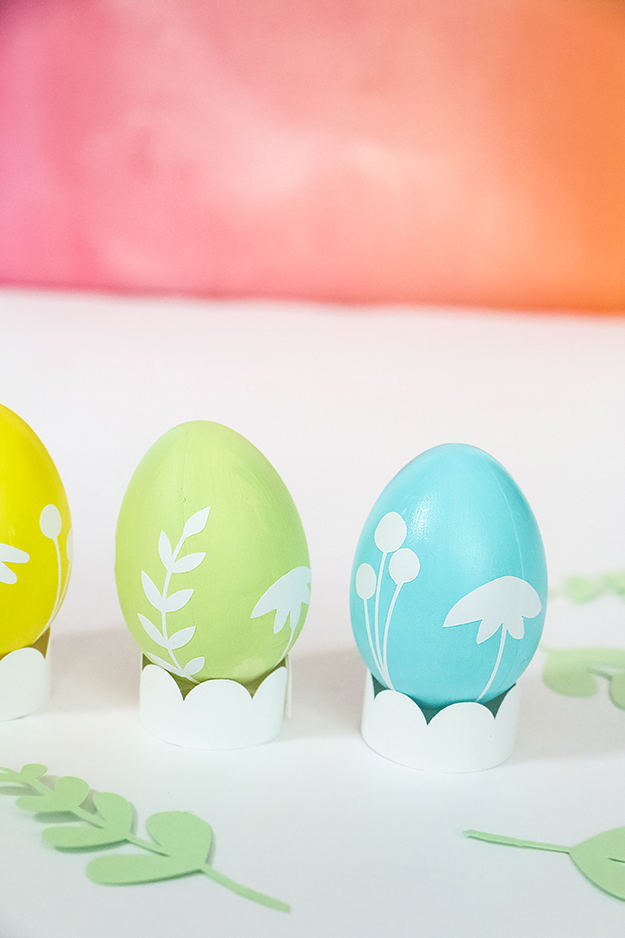
Continue adding designs around your egg. I placed my designs towards the bottom of my egg. You could also have them scattered all of over. Choose a design that works for you!
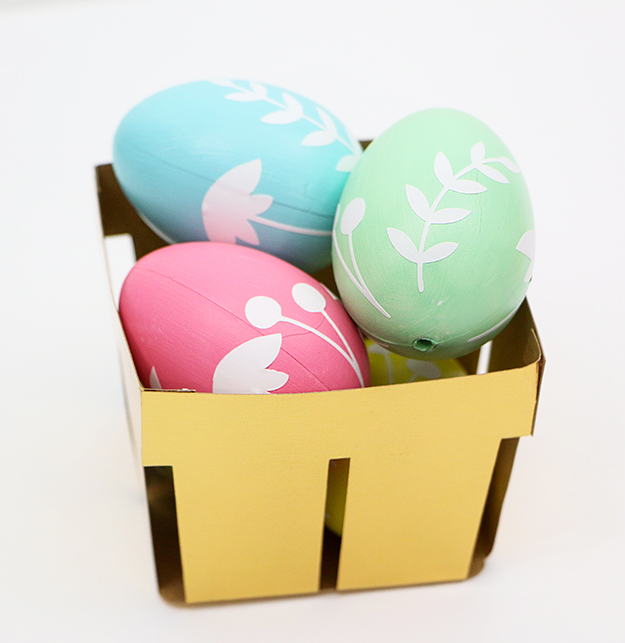
When your finished, just add your Easter Eggs to a basket or place them in an egg stand so all of them can be on display. When Easter is over, you can save these bad boys and use them again next year!