Disclaimer – This post is sponsored by rubberstamps.com. All opinions are 100% my own.
I have a true obsession for florals. Whether it’s scrapbook paper, stencils, fabric designs, or notebook covers, I’m always find myself drawn to ones that have a floral design! This isn’t a new phase for me. It’s one that’s been going on for as long as I can remember. When I was younger, I would go through my mom’s Better Homes and Garden’s magazines and cut out all of the pages that had flowers on them and turn them into collages. It was such a fun activity for me since I loved arranging all of the flowers together to create my own garden masterpieces.
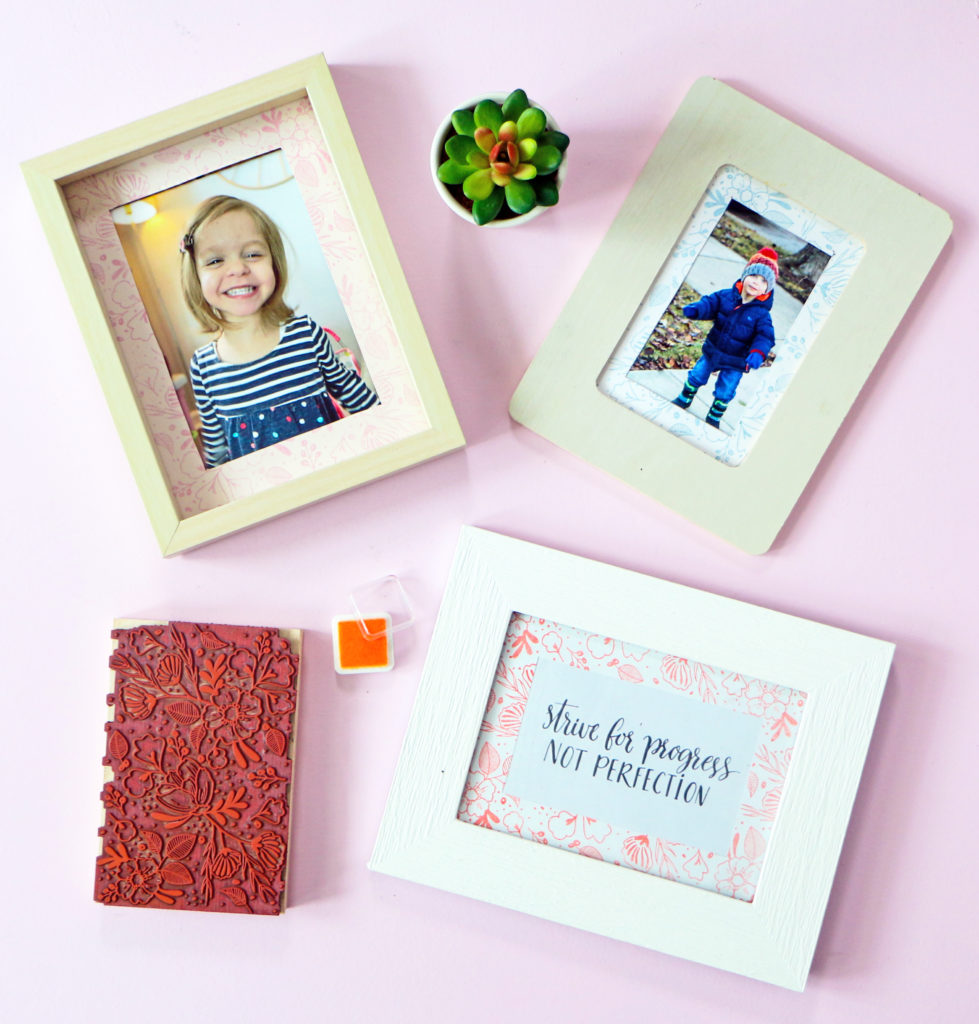
My latest ongoing project has been working to update decor pieces in my living room. As I try to do this on a budget, I’ve been looking for inspiration that I can DIY myself. I wanted to take my plain picture frames from drab to fab without needing to put forth a ton of effort. Once again, florals have found their way into my updated design. I got this AMAZING floral pattern stamp from Rubberstamps.com. I was really drawn to the delicate and intricate floral designs. I grabbed this stamp because I thought it would be prefect to create a DIY floral photo matte for my boring frame. Since I knew I was covering a larger space, this 4″ x 6″ stamp was the perfect size. Check out the full tutorial below to see just how simple it is to create your own DIY floral photo matte!
Supplies:
- Picture Frame
- Cardstock (In a color of your preference)
- Pencil
- Ruler
- Scissors
- Ink Pad (In a color of your preference)

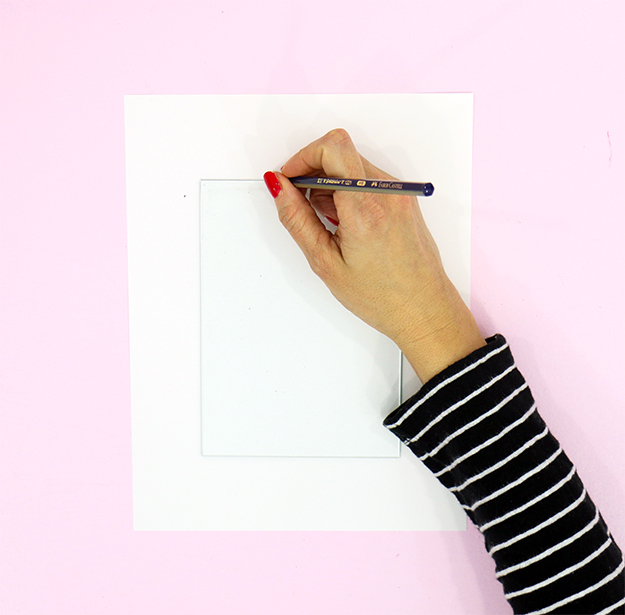
Take the glass out of your frame and lay it on top of your cardstock. Use your pencil to trace around.
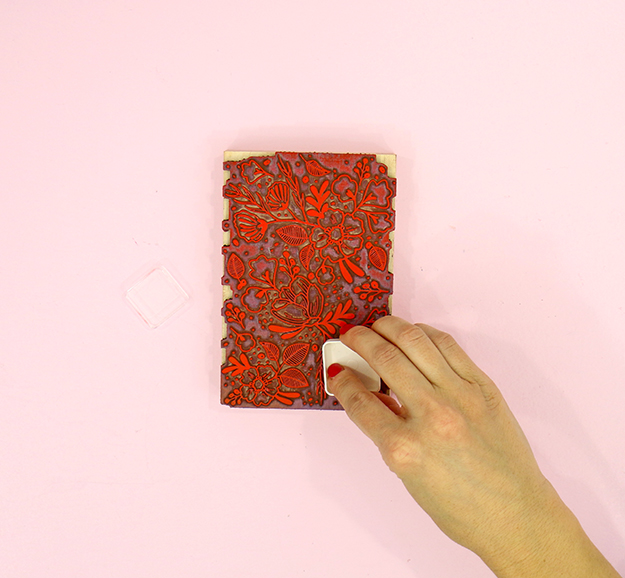
Add ink to your stamp, making sure the entire surface is covered.
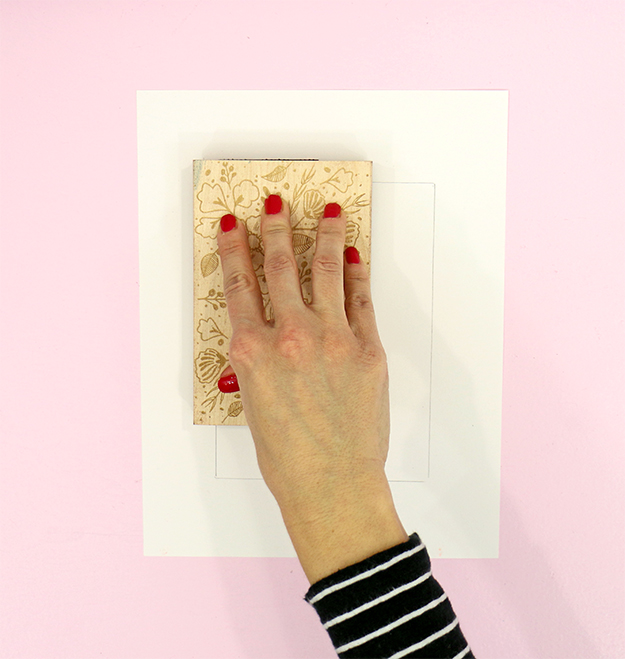
Place the stamp on your paper (make sure it’s straight) and press down. Press down firmly all over the wooden stamp to make sure all of the image has transferred.
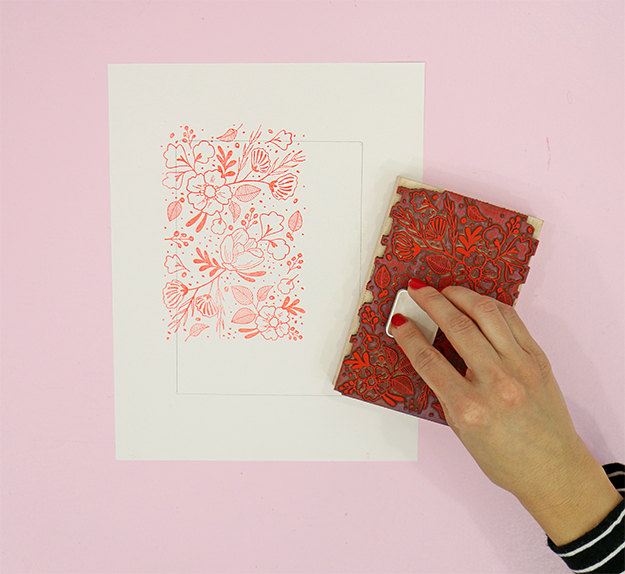
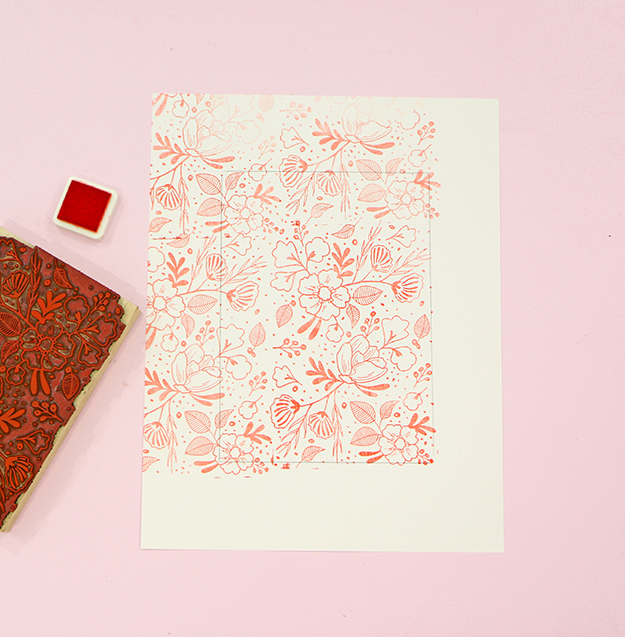
Ink your stamp up again, place it as close as you can to your previous stamped image, and press down firmly. You’ll continue this process until your entire area is filled with the design.
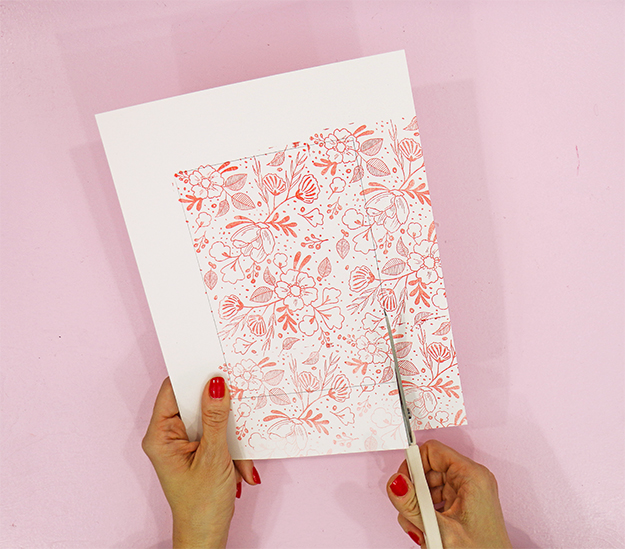
Next, cut along the lines you traced.
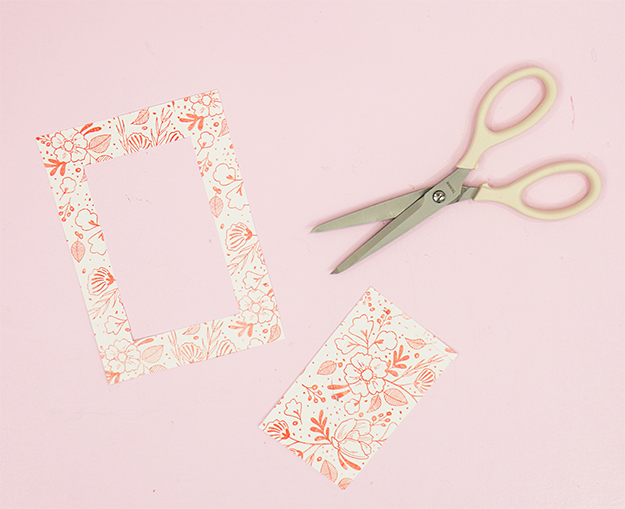
Then, on the backside of your your design, use your ruler to mark a 1 inch border all the way around your paper. Use your scissors to cut a hole in the center of your design. Then, cut along the lines to create your matte.
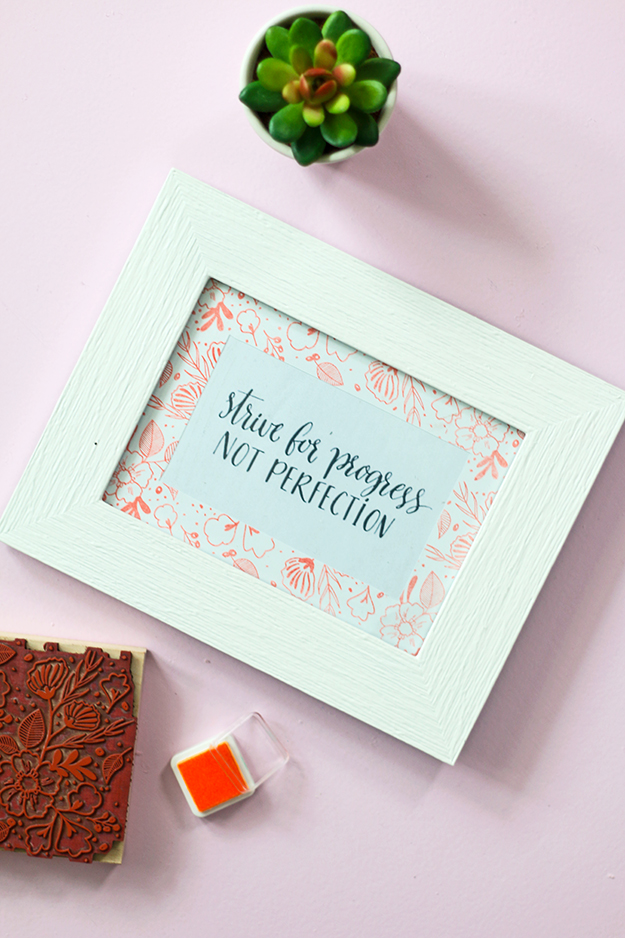
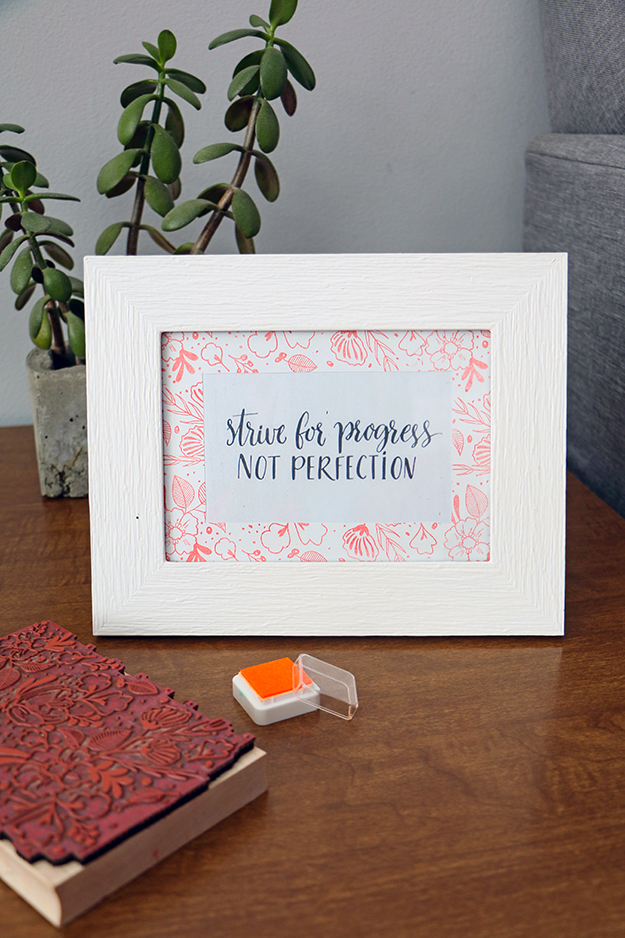
That’s it! All you need to do now is add your matte to your frame, place your favorite photo or quote inside, and add the back to the frame. Viola! A beautiful DIY floral photo matte!
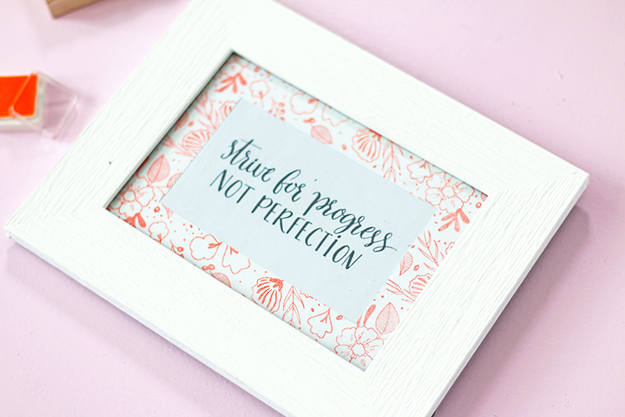
You could create a gorgeous gallery wall using this simple technique. It would be a fresh way to updated plain walls!
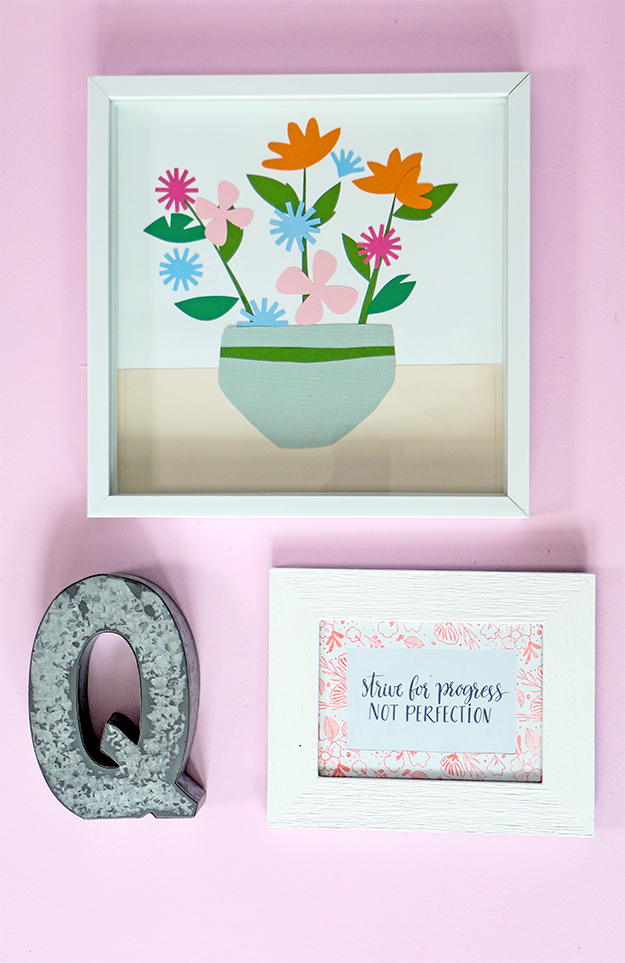
This technique works well on all frames. The possibilities are endless!