
Disclaimer – This post is in partnership with Rubberstamps.com. All opinions are 100% my own.
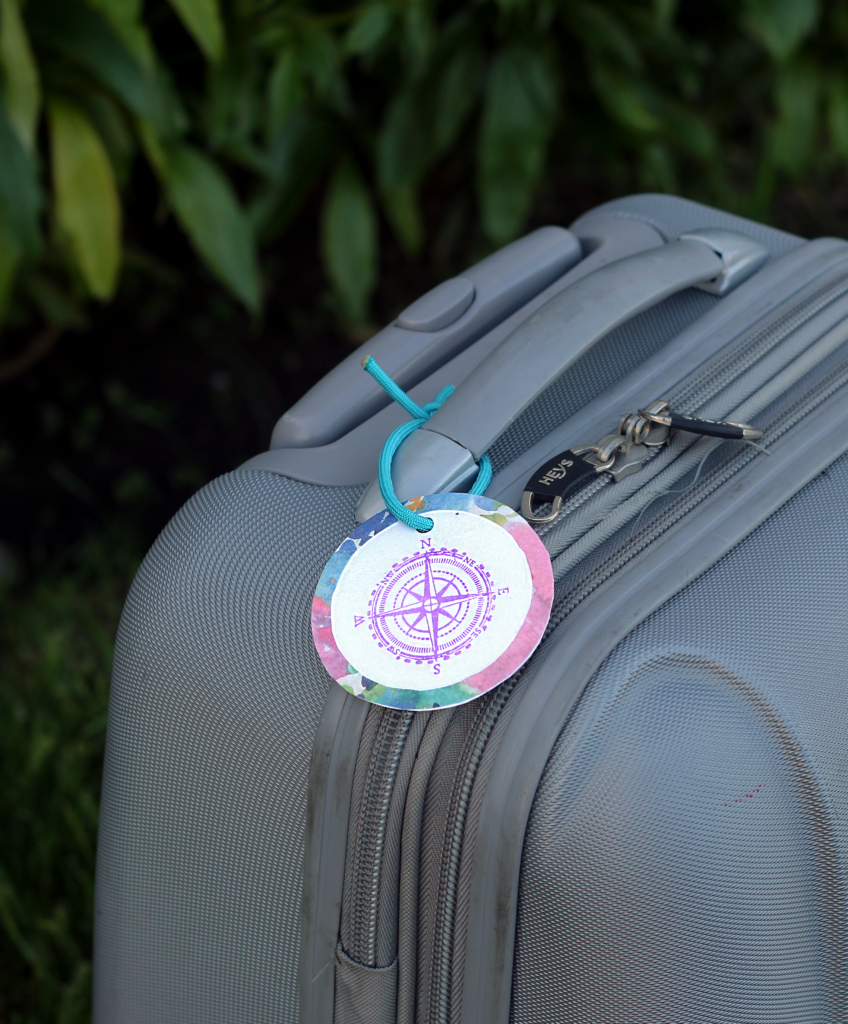
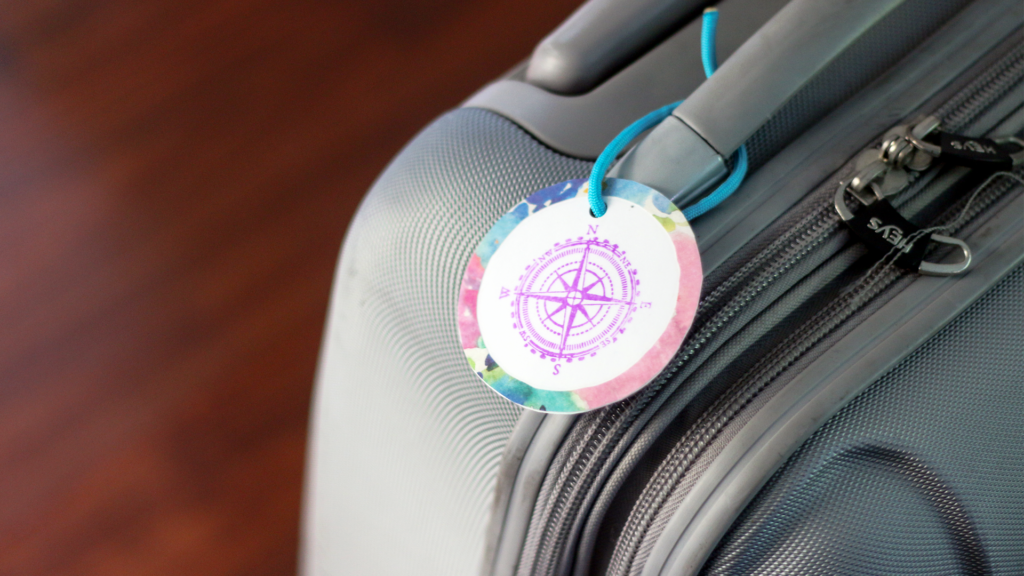
Going on a trip is always something I look forward to. Whether it’s a quick road trip or a plane ride to another state or country, I always welcome the change of scenery. When I fly, I’m always a little worried that my luggage is going to get lost or taken by someone else. Instead of panicking about someone mistaking my luggage as their own, I’ve created a fun DIY stamped luggage tag that is not like the rest!
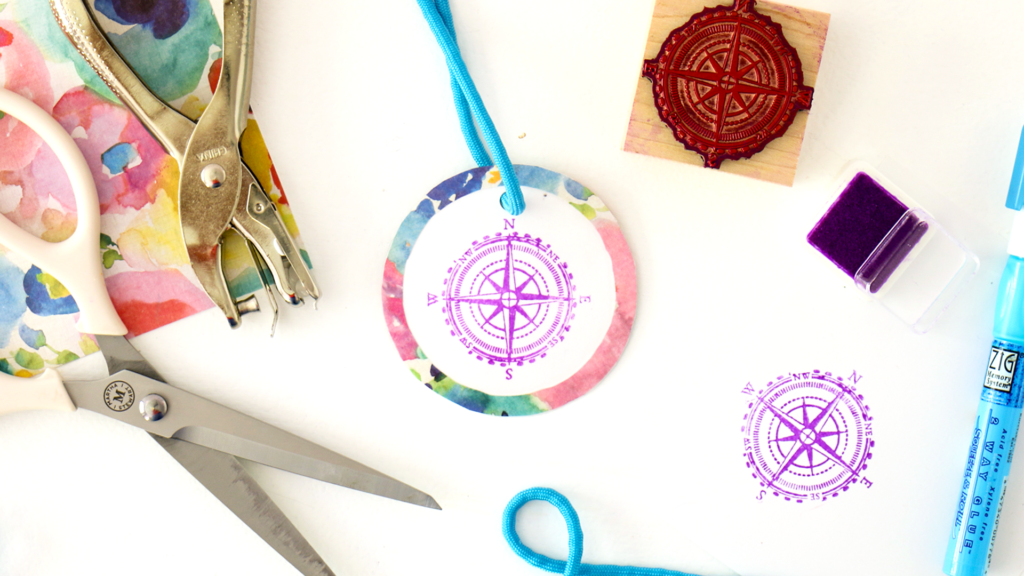
My luggage tag is not the standard rectangle shape and style. In order to create a luggage tag that stands out, I made this one round with a super cute compass stamp from Rubberstamps.com. There are other travel stamps to choose from, but my favorite is the compass design. It’s what made me decide to go with a circle shape for my luggage tag instead of the traditional rectangle shape! Check out the video tutorial below to see how you can make your own DIY stamped luggage tag so you too can travel in style!
Supplies:
- Rubberstamps.com Compass Stamp (2×2)
- Stamp Ink
- Patterned Scrapbook Paper
- White Cardstock
- Printer (to print out your name and address)
- Tag Template
- Iron-on Vinyl (you could also swap this out and use a laminator and laminating pouch)
- Parachute Cord (or any cord option of your choice)
- Glue
- Scissors
- Pencil
- 1/4 Inch Hole Punch
After your done making your DIY travel luggage tag, just tie it onto to your luggage and enjoy! Happy travels!


![Met Gala 2024 Arrivals: See Every Look from the Red Carpet [PHOTOS]...](https://i.pinimg.com/236x/65/d4/a6/65d4a68aae2a24e2598387d52e13175f.jpg)


Pingback: DIY Stamped Canvas Art - Happiness is...Creating