

I’ve really gotten bitten by the Christmas bug this holiday season. I just can’t stop making festive decor for my house! My next project is from a wooden teepee I got from Walnut Hollow. I’ve been holding on to this piece for a while waiting for the right project. Since I have all of the Christmas feels, I decided to transform my adorable teepee into a Christmas tree! Get the full details below.
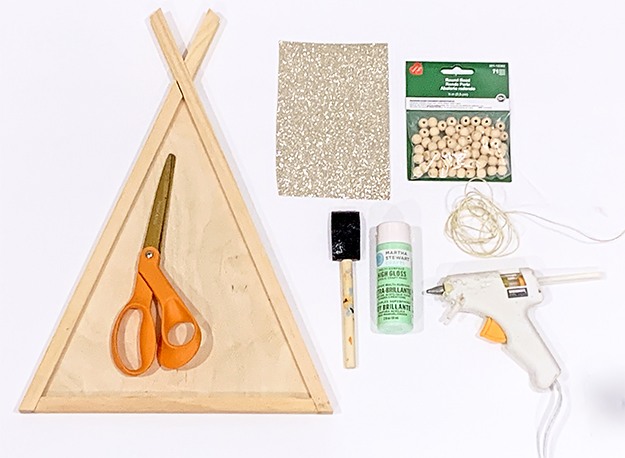
Supplies:
– Gold Glitter or Metallic Cardstock
– Green Paint
– Small Wooden Beads
– Twine
– Hot Glue Gun and Glue
– Scissors
– Foam Squares (Optional)
First, add a coat of green paint to the top and sides of your teepee frame. Once it’s dry, add a second coat. Cut out a large star from your glitter/gold paper, making sure it’s large enough to cover the top part of the teepee. For more dimension, cut two smaller stars nestle inside of the large one.

Add foam squares to the 2 smaller stars and place them on the largest star. Then, hot glue the star to the top of the teepee. Next, cut 4 pieces of twine measuring 8 inches. Hot glue one end of twine to the back of the teepee. Begin stringing wooden beads. Once you have enough beads to cover the front of the tree, pull the string to back and glue it. Trim any excess twine. Repeat these steps to add strung beads down the entire tree.

That’s all folks–a fun and simple Christmas tree! Instead of adding beads, you could add a photo or even use it as a serving tray with festive mini cupcakes!